Let me guess how your last AI tutorial went.
You opened a video, typed along, and everything worked. You felt great for about an hour. Then you closed the laptop, and a week later you could not rebuild any of it without the video playing in the next tab.
That is not a personal failing. It is what happens when we copy a finished project step by step. The tutorial author made all the hard decisions (what problem to solve, what to ignore, what "good" looks like), and you only typed the answers.
This post takes a different approach to beginner AI project ideas: one weekend, one small problem, and one tool you actually understand. If you want to build something original instead of cloning the same sentiment analyser everyone else has on GitHub, start here.
Why tutorial cloning feels productive but isn't
Copying a tutorial trains your fingers. Building your own tool trains your judgment, and judgment is what people hire for.
When a hiring manager or client looks at a project, they are quietly asking three things:
Did this person pick a real problem, or just a famous dataset?
Do they know where their tool breaks?
Can they explain it in plain language?
A cloned project usually fails all three. A small, honest, original one passes them easily. You don't need a big idea. You need a narrow one that you finish.
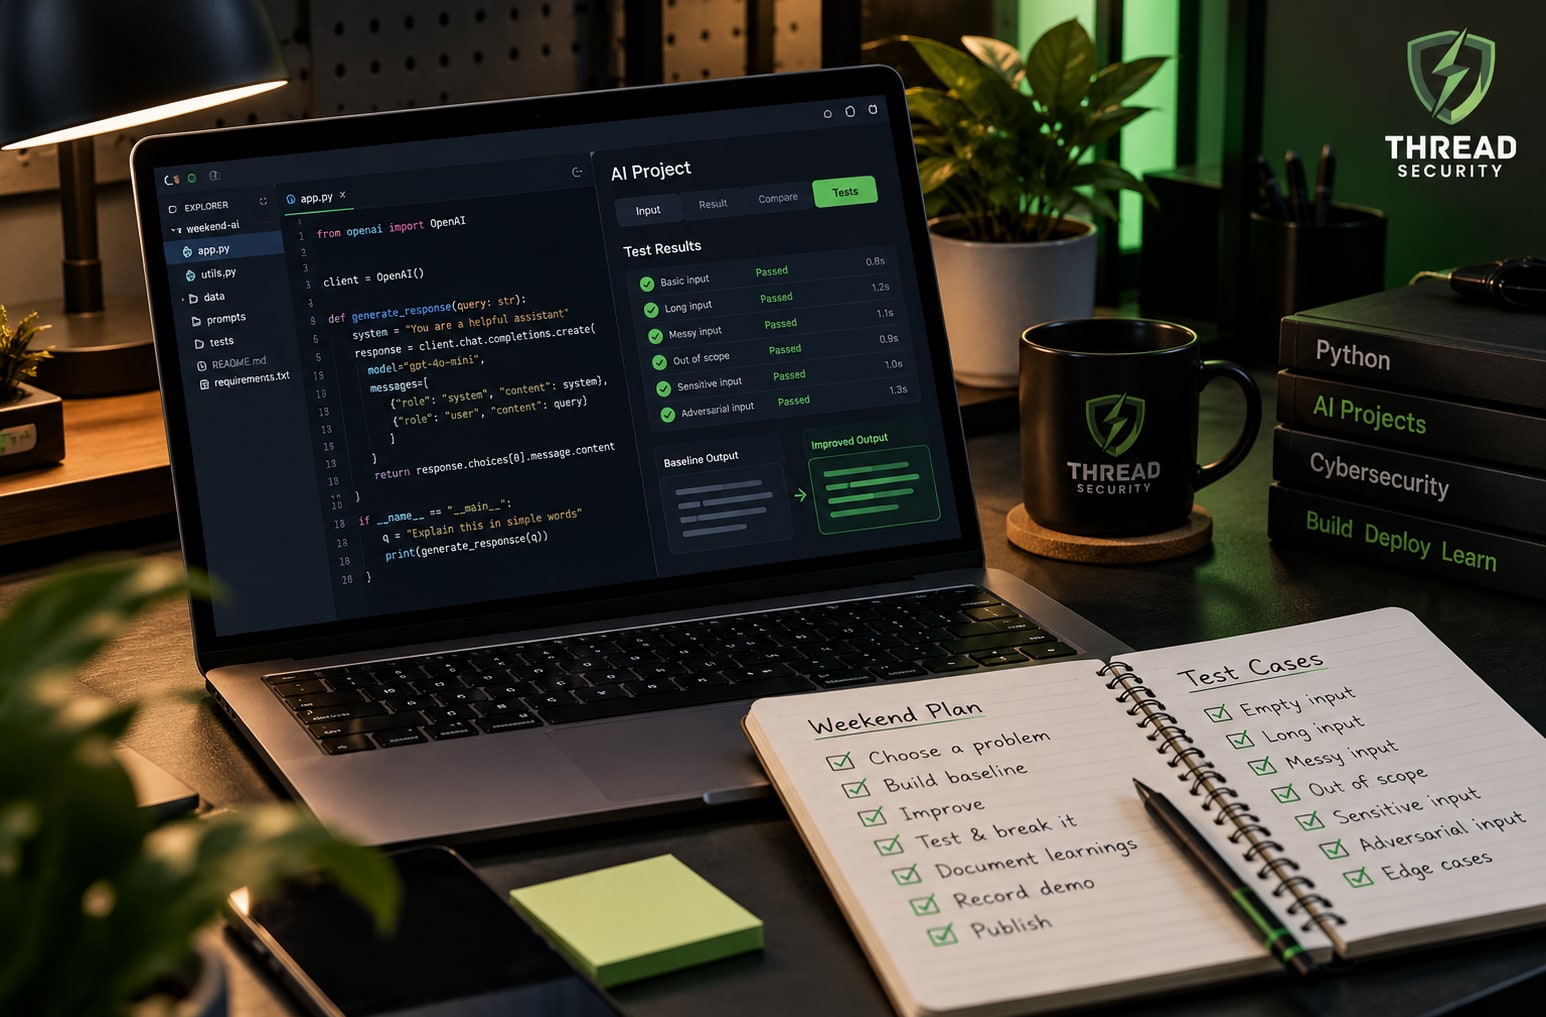
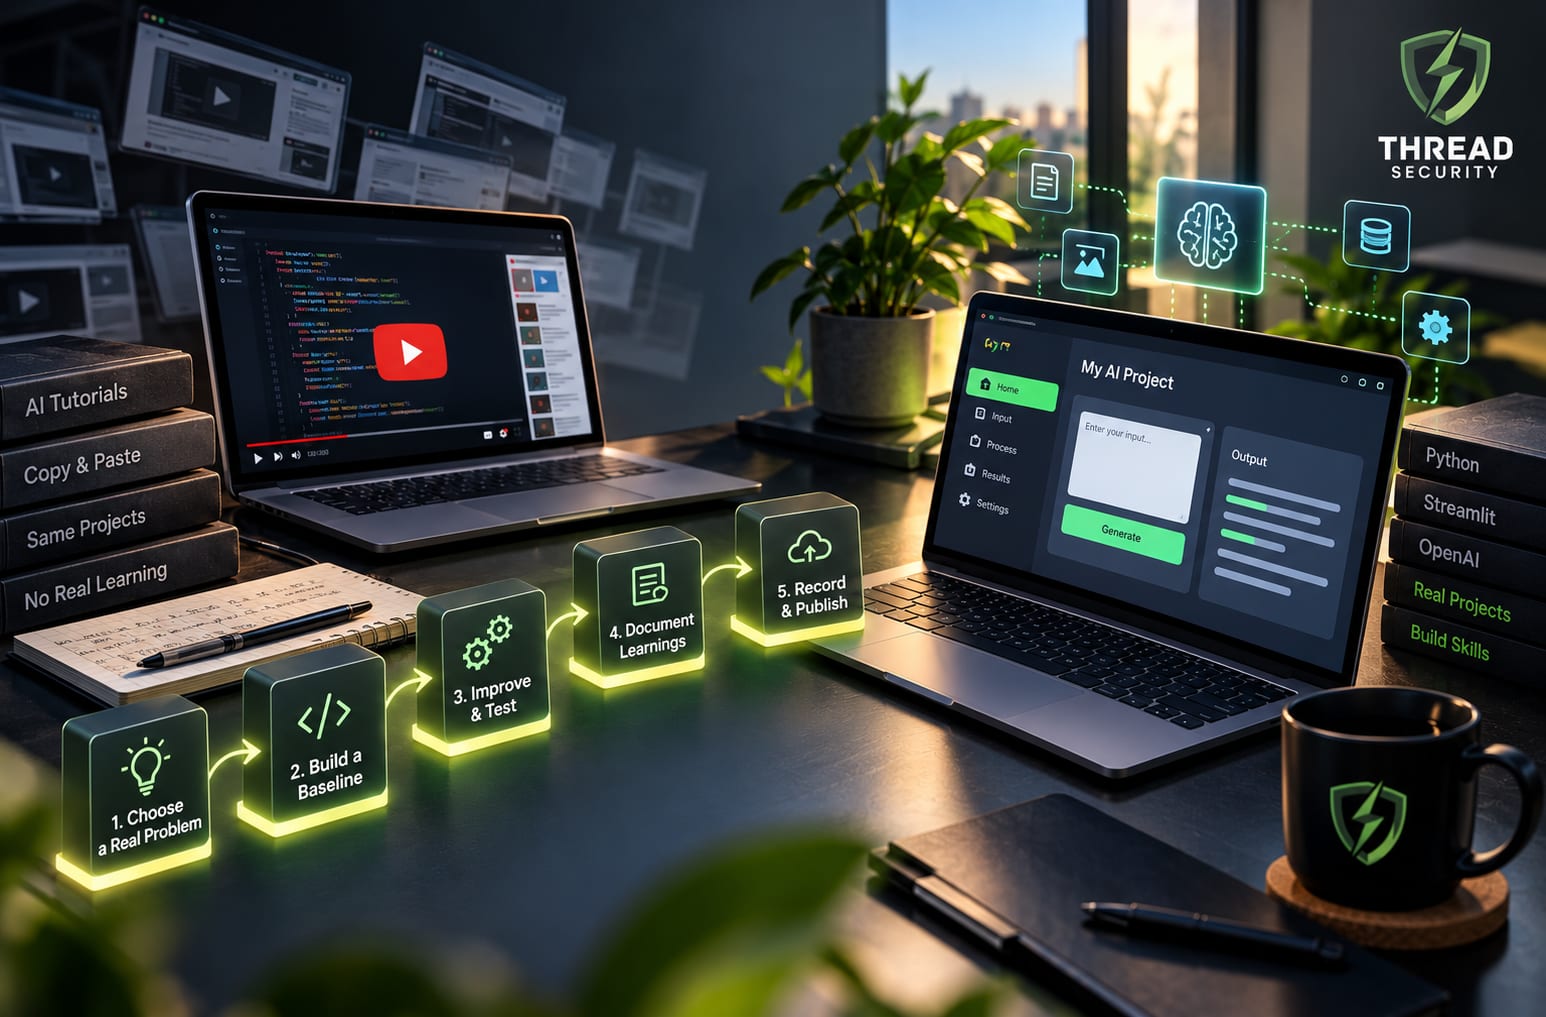
The weekend plan at a glance
Friday evening (1 hour): Choose a narrow problem for a real person.
Saturday morning (3 hours): Build the simplest possible baseline.
Saturday afternoon (3 hours): Improve it, then try to break it.
Sunday morning (2 hours): Write down the limitations honestly.
Sunday afternoon (1 hour): Record a short demo and publish.
That is about ten hours. Less than most people spend scrolling in a week.
Step 1: Choose a narrow user problem (Friday evening)
The biggest beginner mistake is starting with the technology ("I'll build a chatbot!") instead of the person. Flip it.
Think of one specific human who has one small, repeated annoyance. Then write this sentence:
"[Specific person] struggles with [specific task], so my tool will [specific action] and give them [specific output]."
Some examples, to show the size we are aiming for:
A shopkeeper in your neighbourhood who answers the same five WhatsApp questions all day, so your tool drafts replies from a short FAQ.
A college classmate who spends an hour turning lecture notes into revision questions, so your tool generates ten practice questions from pasted text.
A freelancer who writes the same invoice reminder in a dozen tones, so your tool rewrites one message politely, firmly or casually.
A teacher who needs to summarise a long circular into three bullet points for parents.
Notice what these share. The user is real, the input is small, the output is checkable, and nobody would call any of them "revolutionary." That is exactly why you can finish them.
A quick test for your idea: can you describe it in one sentence, and can you name a person you could show it to on Monday? If either answer is no, shrink the idea.
Talk to that person for ten minutes if you can. Ask what they do today and what annoys them. Five minutes of listening will save you five hours of building the wrong thing.
Step 2: Build a baseline first (Saturday morning)
A baseline is the dumbest version of your tool that still does the job. It matters for one reason: without it, you will never know whether your fancy approach is actually better.
For many beginner projects, a baseline can be:
a simple rule-based script (keywords, templates, regular expressions), or
a single call to a hosted AI model with one clear prompt, or
a basic classical method, such as a keyword match or a simple scikit-learn model.
Pick the simplest of these that fits your problem and make it work end to end. That means a real input goes in, and a usable output comes out. Ugly is fine. A command-line script is fine. A tiny web page using a framework like Streamlit or Gradio is nice but optional.
Two habits will help you here:
Read the official documentation, not just videos. The Python docs and your chosen framework's docs are better teachers than they get credit for, because they show you what the tool actually promises. When you copy from a video, you inherit its mistakes. When you read the docs, you learn to answer your own questions.
Keep a "decisions" note. Every time you choose something (this model, that library, this input limit), write one line on why. This becomes gold on Sunday.
Save your baseline in version control (Git) before touching anything else. You will want to compare against it.
Step 3: Improve it, then try to break it (Saturday afternoon)
Now you get to be creative, but only a little. Make one or two improvements, such as a better prompt, cleaner input handling, or a clearer output format. Resist the urge to add five features. Each feature is a new way to fail.
Then switch hats. You are no longer the builder, you are the tester whose job is to embarrass your own tool.
Build a small failure-case list. Aim for at least fifteen test inputs, deliberately including:
Empty or tiny input: what happens if the user pastes nothing, or one word?
Huge input: what if they paste an entire book?
Messy input: typos, mixed languages, Hinglish, emojis, odd formatting.
Out-of-scope input: ask a different question than the tool was made for.
Tricky or sensitive input: names, numbers, dates, anything where a wrong answer would matter.
Hostile input: text that tries to make the tool ignore its instructions.
For each one, write down what you expected, what actually happened, and whether it is acceptable. Keep it in a plain text file or notebook. You do not need a testing framework for a first project, but a simple script that runs all your test inputs and prints the results is a lovely upgrade.
You will probably find your tool fails in surprising ways. Good. That is not a bad weekend. That is the weekend working.
Compare the improved version with your baseline using the same test inputs. Sometimes the fancy version wins. Sometimes the baseline wins, and you've just learned something most tutorials never teach: simpler is often better.
Step 4: Document the limitations honestly (Sunday morning)
This is the step almost every beginner skips, and it is the one that makes your project look professional.
Write a short README with these sections:
What it does: one paragraph, plain language.
Who it's for: the person from Step 1.
How to run it: exact steps, tested on a fresh folder.
What I tested: a summary of your failure cases.
Where it breaks: the honest list. For example, "Struggles with inputs over about 2,000 words," or "Sometimes invents details when the source text is vague."
What I'd do next: two or three realistic improvements.
Credits: any docs, libraries or public repositories you learned from.
About that last point: it is completely fine to browse public project repositories for inspiration. Look at how others structure folders, write READMEs and handle errors. Just do not copy their code and present it as yours. Take the idea, close the tab and write it from your own understanding. If you do reuse a snippet, say so and respect its license.
Writing "here's where my tool fails" feels risky. It is actually the opposite. It tells readers that you tested your work, you are honest, and you can be trusted with bigger problems.
If your tool touches personal data, add a line about it. Say what it stores (ideally nothing), and warn users not to paste confidential information into a tool you built over a weekend.
Step 5: Record a short demo (Sunday afternoon)
A demo turns a folder of code into something people can understand in sixty seconds.
Aim for a two-to-three-minute screen recording (your phone, laptop or any free recorder will do). A simple structure works well:
The problem (15 seconds): "Meet Ravi, who answers the same customer questions every day."
The tool in action (60 seconds): show one clean example.
One failure, on purpose (30 seconds): show something it gets wrong and explain why.
What's next (15 seconds): one sentence about improvements.
Showing a failure is a power move. It proves you know your tool's edges, and it is far more memorable than a flawless run.
Then publish it. Put the code on GitHub with your README, add the demo link at the top, and post a short note on LinkedIn about what you built and what you learned. Tag it with a few relevant words so people can find it.
Common mistakes to avoid
Starting too big. If the idea needs a team, it's not a weekend project.
Choosing a dataset before a user. Datasets are not problems.
Skipping the baseline. You will not know whether you improved anything.
Only testing happy inputs. Real users are creative in ways you can't predict.
Hiding limitations. Every tool has them, and readers trust you more for naming them.
Never showing anyone. A project nobody sees cannot get you feedback or opportunities.
What to build next
Once you have one finished tool, the second one gets much easier. You can extend the same project with better evaluation, add a simple interface, try a different model, or pick a new user problem and repeat the weekend. Three small, honest, well-documented projects will say more about you than one giant half-finished one.
Where to learn AI in Punjab, and how Thread Security can help
If you are searching for AI courses in Jalandhar or nearby cities such as Ludhiana, look for a programme that makes you build things, not just watch things. The right course should push you to choose real problems, test your work and explain it clearly, which is exactly what this weekend plan trains.
Thread Security (Threadec) is a Ludhiana-based cybersecurity company working in VAPT, security training and DevSecOps consulting. We believe building and securing go together: the best beginner AI projects are the ones that also think about safe data handling and honest limits from day one. If you would like feedback on your weekend project, or guidance on a learning path that mixes AI with practical security skills, get in touch with the Thread Security team.
Frequently asked questions
What are some good beginner AI project ideas? Pick a small task for a real person: summarising notes, drafting replies from an FAQ, classifying simple feedback or generating practice questions. The narrower and more checkable the output, the better.
Do I need to know machine learning to start? No. You can build a useful first tool with basic Python and a hosted AI model, and learn the theory as your projects raise questions.
Is it okay to look at other people's projects? Yes, for inspiration and structure. Write your own code, credit what you learned from, and follow any license if you reuse something.
How do I show an AI project to employers? Share a GitHub link with a clear README, a short demo video and an honest limitations section. That combination shows skill and maturity.
How long should a first AI project take? A focused first project fits in a weekend. If it is dragging on for weeks, narrow the scope.
Key takeaway
You don't need a brilliant idea to get a great portfolio project. You need a small problem, a baseline, a list of ways it can fail, an honest README and a short demo. Do that once this weekend, and you will have learned more than a dozen tutorials could teach.
Akshay Kumar
VERIFIEDAcademic Coordinator · Thread Security
Faculty mentor & research guide at Thread Security Education.